If you run a small business, you probably feel the following tensions every week:
You know about the video work, right? Budget and time say different things.
Shooting, editing, retouching, freelancers, agencies… it all adds up quickly.
Image-to-video AI is basically a shortcut. Convert the photos you already have into short, dynamic videos perfect for ads, product pages, and social content without the need for additional equipment or creative teams.
In this guide, we’ll explain how Image to Video AI works, how it can actually increase revenue and save time for small businesses, and how you can incorporate the free tool into your workflow today.
What is Image to Video AI in simple terms?
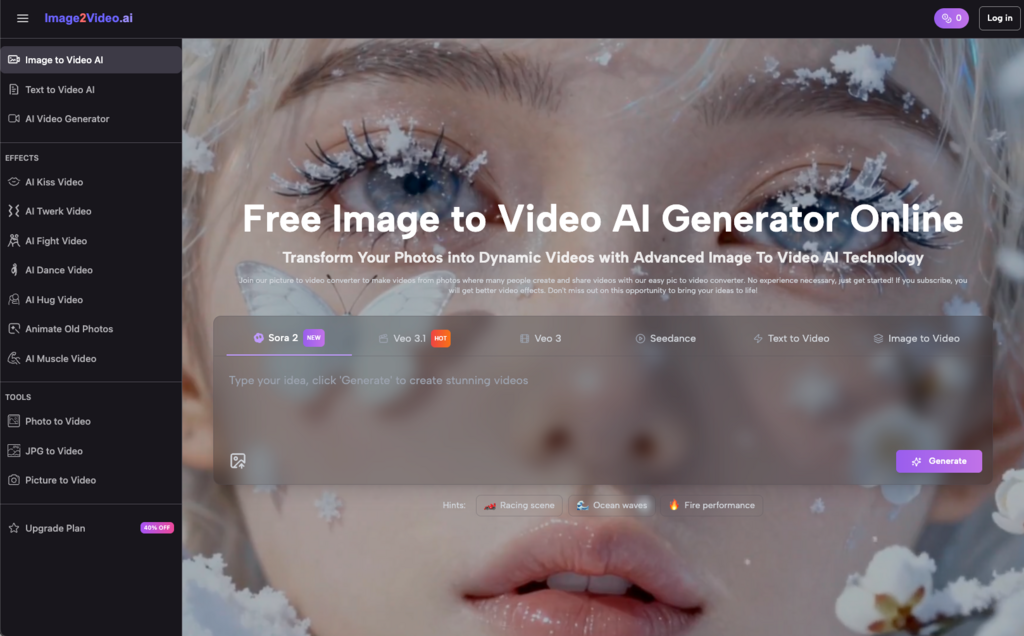
Image to Video AI is a type of tool that converts a still photo (or a few photos) into short video clips with motion, transitions, and sometimes narration and music.
Under the hood, Image to Video AI analyzes images, determines foreground and background, and simulates camera movements such as zooms, pans, and slight 3D rotations. Some tools even allow you to add captions, music, and even speaking AI avatars on images.
From your side, the experience is simple.
Upload a photo → Describe what you want → Wait 1-2 minutes → Download a ready-to-use video.
There is no editing timeline. There’s no need to learn Premiere Pro. We don’t hire freelancers.
Why Image to Video AI makes sense for budget-conscious business owners
For most SMB founders I work with, the bottleneck is not the idea, but the execution. You probably already have:
- product photo
- team photo
- office scene
- Event and booth photos
- Before and after service photography
The problem is those assets live on Drive or on the website and never become videos.
Here’s how Image to Video AI can help small businesses.
You don’t need a cameraman, studio, or editor. A great Image to Video AI tool can turn a single product image into a short, non-scrolling clip in minutes.
- Significantly speed up content creation
Instead of taking a week to “perfect one great video,” you can launch multiple photo-to-video variations in an afternoon and test them in ads and on social.
- Monetize visuals you’ve already paid for
You’ve already invested in product photography and branding. Image to Video AI allows you to squeeze more ROI out of every asset.
- Lower the team’s “skill barrier”
Anyone who can upload a photo and enter a short description can use Image to Video AI. No technical skills required.
Step-by-step: How to use the free Image to Video AI tool (from start to finish)
Most free Image to Video AI generators follow more or less the same pattern, whether they are vertical SaaS advertising tools or general AI video platforms.
This is a clean, repeatable workflow that you can pass on to your team.
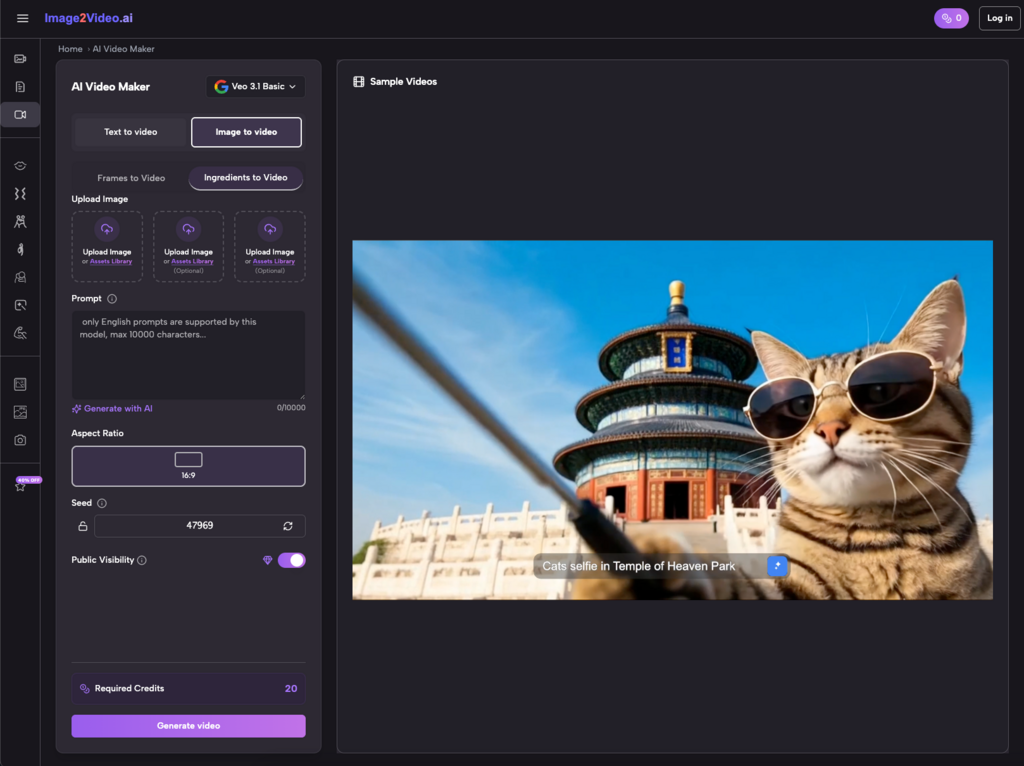
Step 1: Select and upload photos
Start with:
- High quality product image
- Clear team or customer photos
- Powerful “heroes” taken from your website
after that:
- Image to Video Upload to AI platform
- Make sure the file is JPG/PNG (most tools support JPG/PNG)
Tip from experience: Image to video magic won’t save you completely if your base image is low resolution or has poor lighting. Choose the clearest and cleanest photo.
Step 2: Explain what you need in regular language
This is why many people don’t take full advantage of these tools.
Don’t just type “Let’s be cool.”
Instead, be specific.
- “Create a 5-second vertical image video for TikTok. Slowly zoom in on the product. Add bold text at the end: ‘Free shipping today only.'”
- “Create a 7-second photo-to-video clip for your website’s hero. Gentle left-to-right pans, keep colors true, and no flashy transitions.”
The clearer the instructions, the better the Image to Video AI will match the image in your mind.
Step 3: Let AI process images into video
After sending:
- The tool analyzes images
- Plan motion paths (zooms, pans, small 3D swings).
- Render short clips, typically a few seconds long
Free tools may take a few minutes or queue the job. That’s normal.
Step 4: Review, adjust, and export
Once the image to video conversion result is ready, do the following:
- Please look at it once with “cold eyes”
- check:
- Is the main subject always visible?
- Does it move too fast or too erratically?
- Is there any text that can be read in mobile size?
If something doesn’t seem right, please adjust the following:
- Shorten or extend the period (if possible)
- Switch to “subtle” or “slow” motion style
- Change text placement and wording
Once satisfied:
- Export as MP4 (standard output format)
- Upload to your advertising account, website, or social platform
Here’s a complete image-to-video microworkflow.
Common problems and their solutions
1. “That video looks fake or cheap.”
Signs usually include:
- excessive transitions
- Excessive zoom or spin
- low quality input image
repair:
- Choose the simplest motion style provided by Image to Video AI
- Try to pan slowly or zoom gently
- Always start with the highest quality photo you have
2. “I can’t read texts on my cell phone.”
This happens when you treat the screen like a slide instead of a phone.
repair:
- Use very short copy: 3-6 words per screen
- High contrast between text and background
- Placed in the center or bottom. avoid small corners
Many image conversion tools provide text overlay controls. Use these ruthlessly.
3. “It still takes too long to create each video.”
A pattern I often see is that founders overthink each clip. To save time with Image to Video AI, you should:
- Decide in advance which photos are “worth” turning into videos
- Use repeatable prompt templates for each use case
for example:
- Ad creative prompt template
- Social wrap-up prompt template
- Product description prompt template
That way you don’t have to start from scratch every time. Just insert a new image and tweak a word or two.
Simple best practices for using Image to Video AI at scale
To turn this from a “cool test” to a real business benefit:
Maintain a shared folder of images that are “approved” for Image to Video use (hero shots, product photos, lifestyle scenes, etc.).
Save the best-performing image-to-video prompts to your document. Reuse and adapt rather than reinvent.
Tag video creatives from images in your ad account or content calendar. Compare CTR, watch time, number of conversions and static images.
- keep expectations realistic
Image to Video AI is not a replacement for a complete branded film. that intention Replace many of the “I don’t have anything to post” excuses.
How Image to Video AI fits into your lean content stack
Here’s how I typically incorporate Image to Video AI into a small team’s toolkit.
- Generate hooks and CTAs using text AI (such as Copy Assistant)
- Use existing design tools for static graphics
- Animate key visuals from photos to video clips using Image to Video AI
- Add AI narration only where it truly adds value (demonstrations, training, sales videos).
- Schedule everything through your usual social and email tools
We’re not trying to automate creativity, we’re trying to remove all the “heavy lifting” involved.
One thing to take away from this is this:
You don’t have to wait for a bigger budget or full-time video employment to get serious about video.
Select the most powerful product photos, image to video Use the tool to make one clear statement about what you need and submit your first photo-to-video asset.
The whole content game feels much more achievable when you know you can go from “still images” to “publishable video” during your coffee break.